Avatars
October 23, 2024 · Last updated on January 28, 2026
How to use Public Avatars in HeyGen to quickly create videos

# Public Avatars
# Scripts
Public Avatars in HeyGen let you choose ready-made characters with customizable looks and view modes to narrate your videos quickly.
Hey there! Want to make engaging videos faster than ever?
Let’s explore how to use public avatars in HeyGen to create professional videos with ease. Whether you're new to video creation or looking to streamline your process, HeyGen will help you get stunning results in no time.
Explore HeyGen Academy: AI Studio , a hands-on course that teaches you how to turn scripts into polished, on-brand videos—no editing experience required.
What’s covered in this guide
- What Public Avatars are
- How to access Public Avatars
- How to select and customize avatars
- How to add a script
- How to preview and adjust your video
- How to export your video
What are HeyGen public avatars?
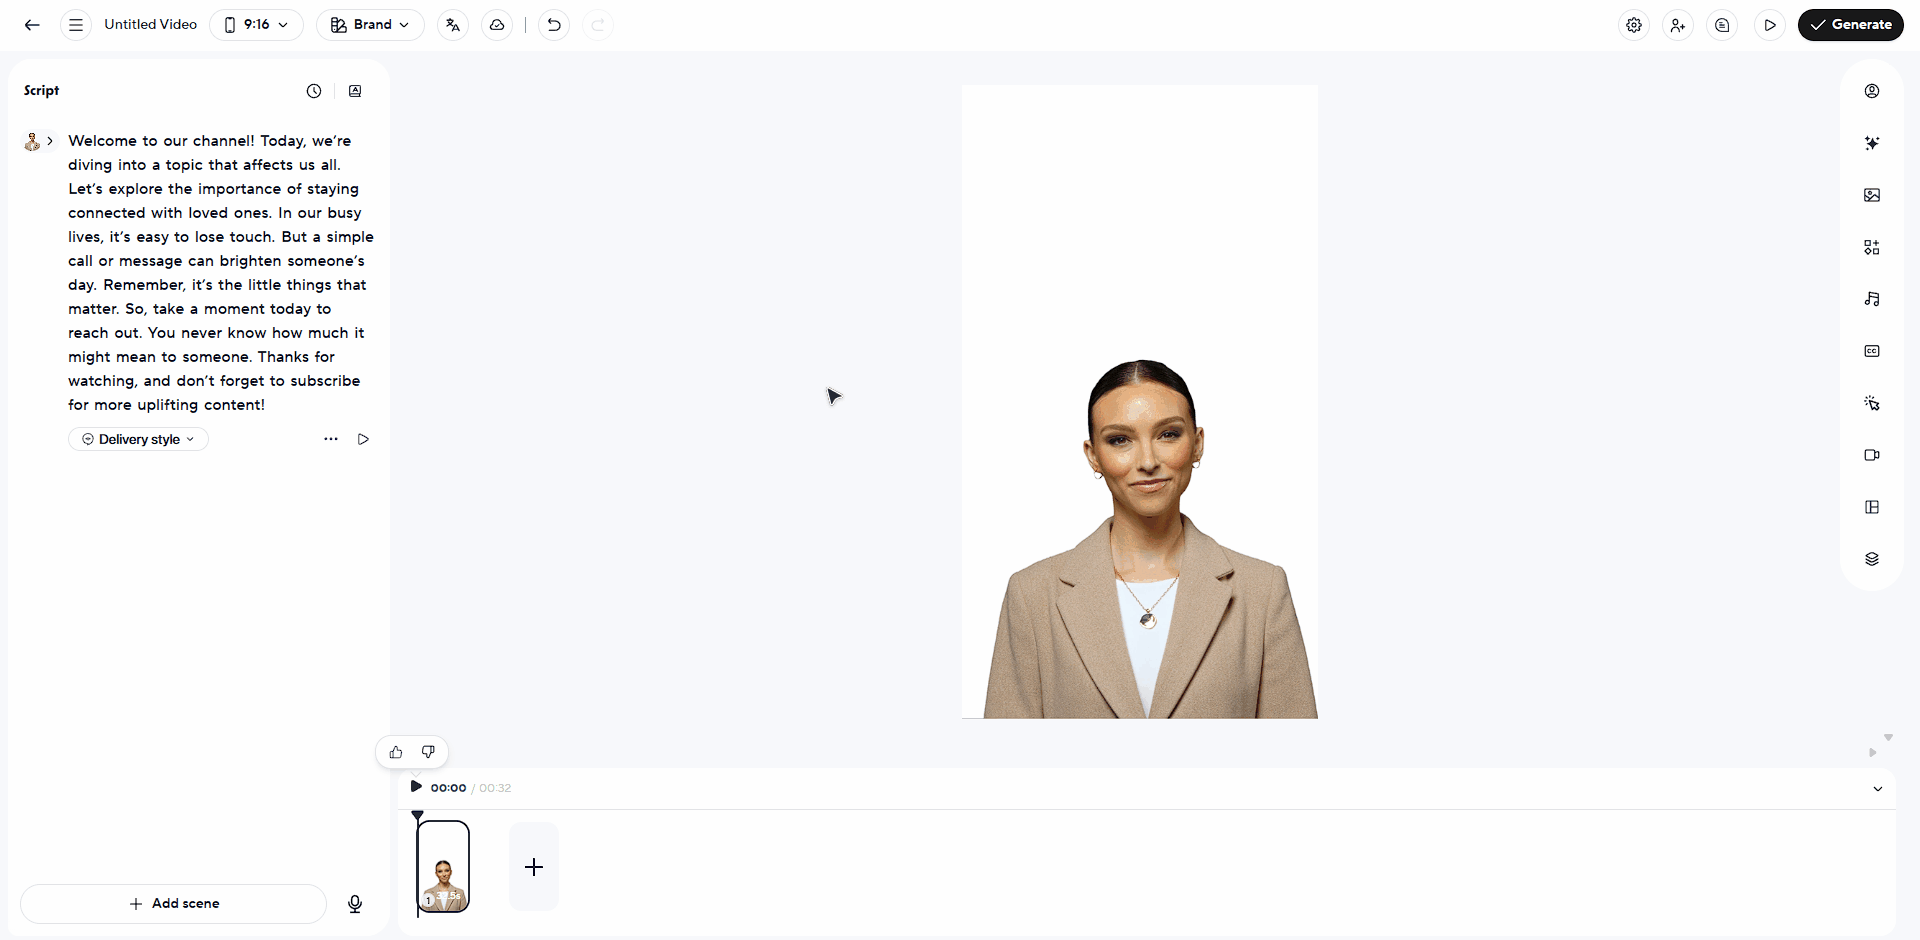
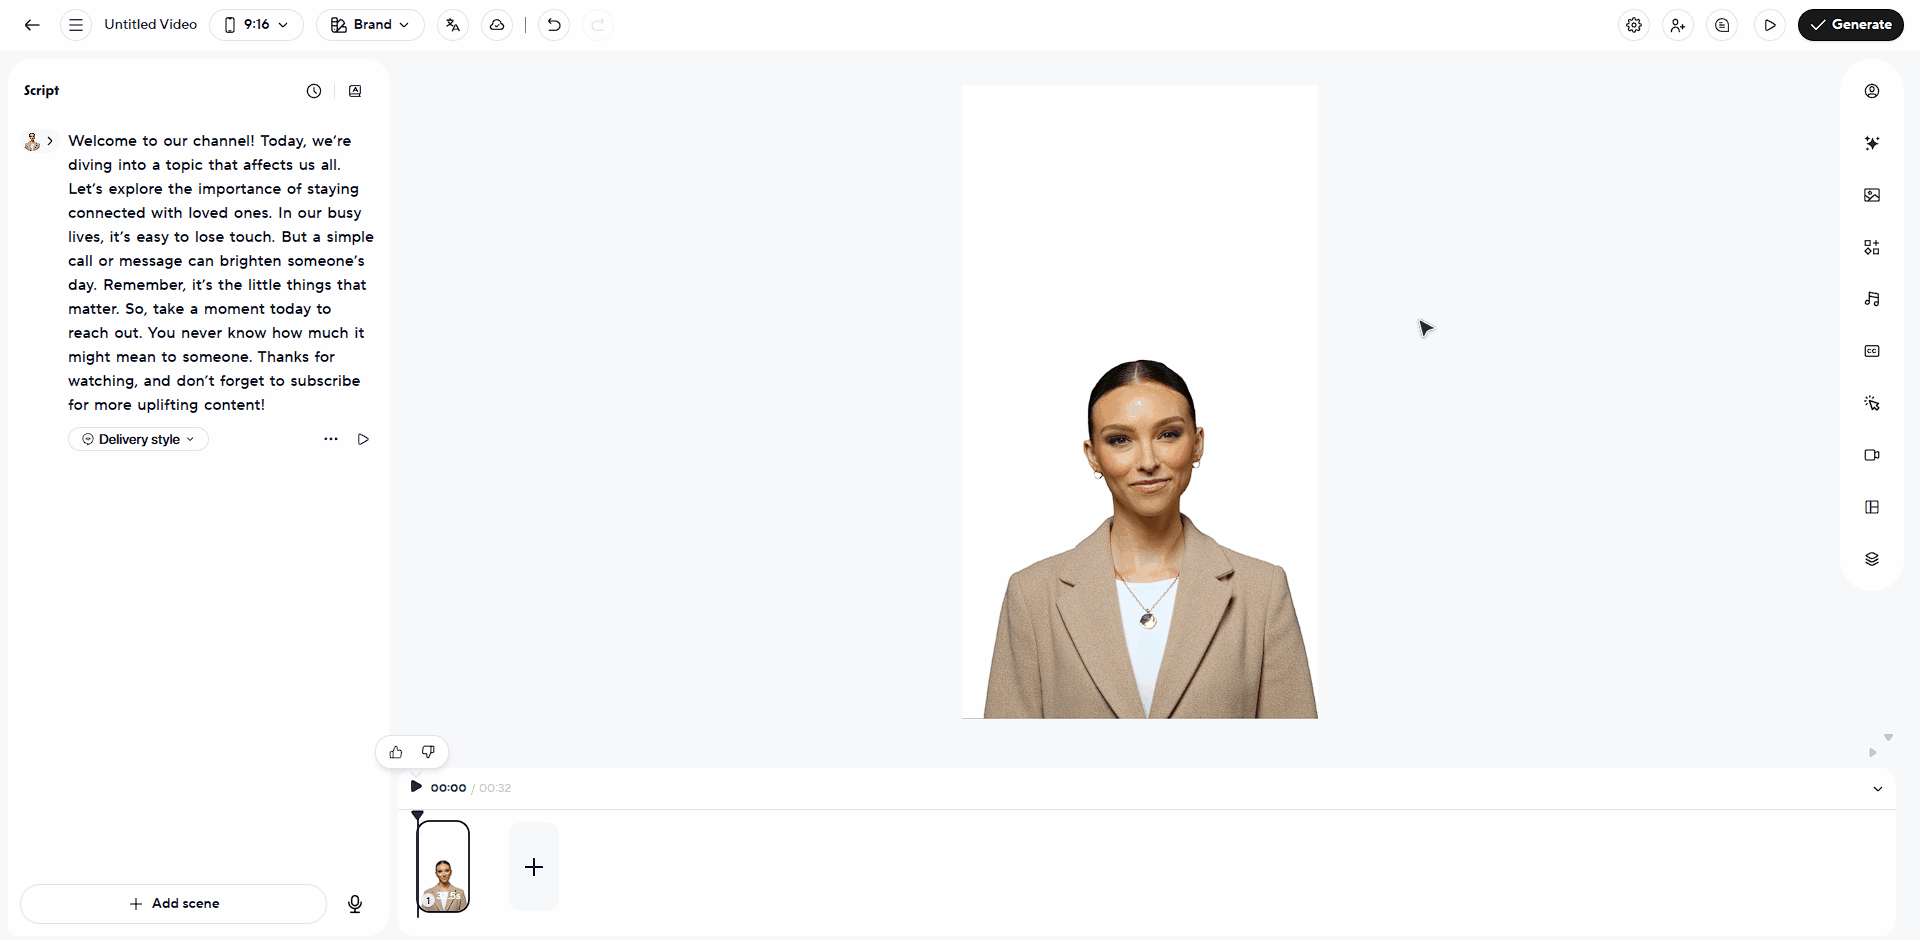
In HeyGen, public avatars are pre-designed, customizable avatars that you can use to narrate or present your content.
These avatars come in a variety of styles, business professionals, casual speakers, and more, so you can find the perfect one to fit your message and intended audience.
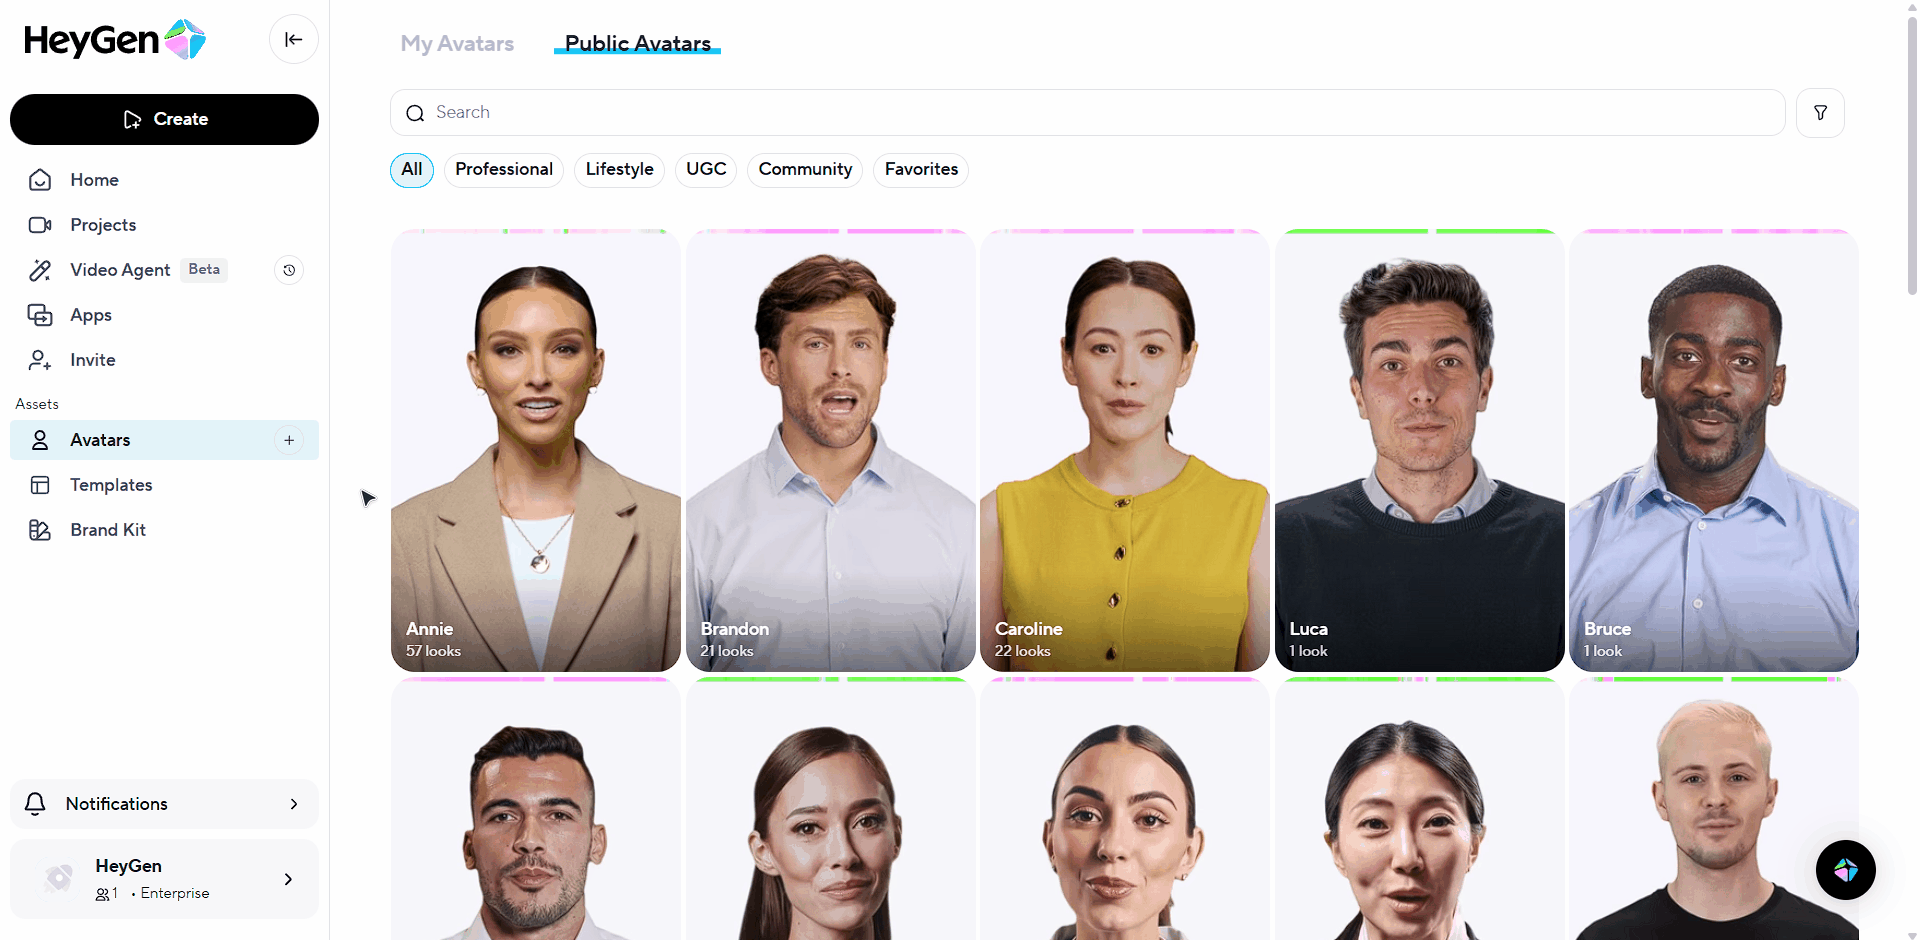
Accessing HeyGen Public Avatars
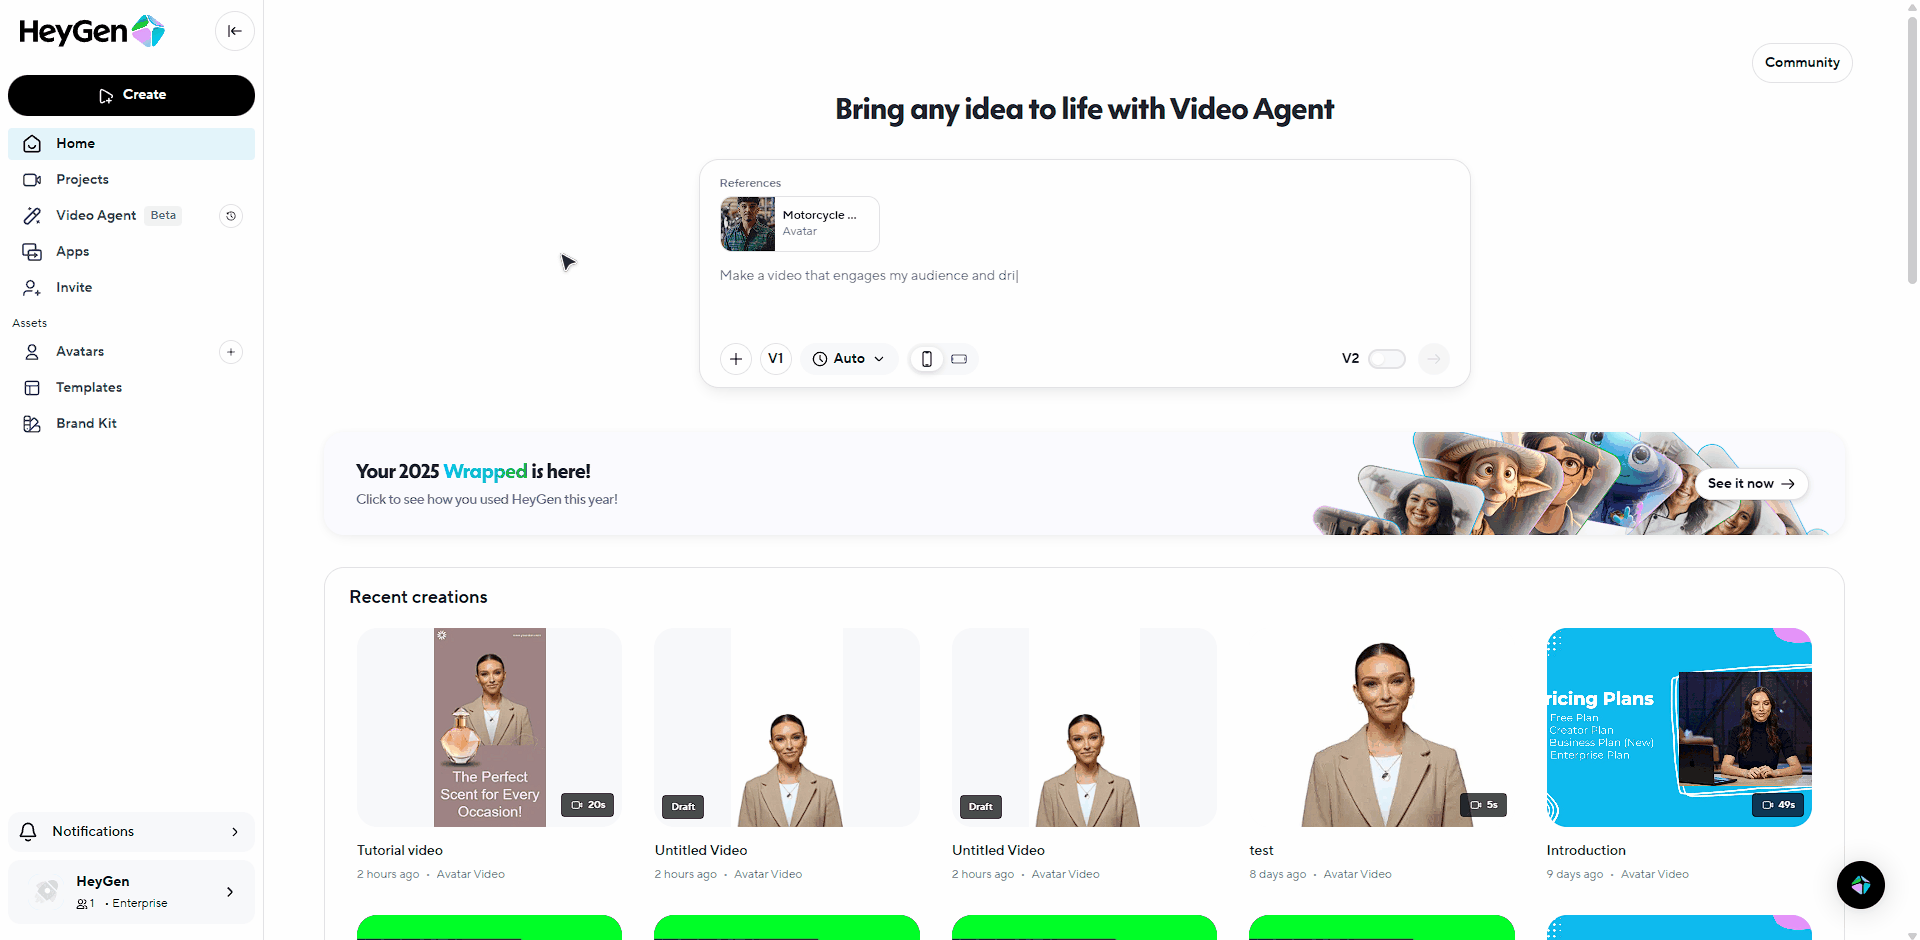
After logging into your HeyGen account, you will land on the home page. From here, hover your mouse over the 'Create' button located in the top-left corner of the screen and select 'Create in AI Studio.'
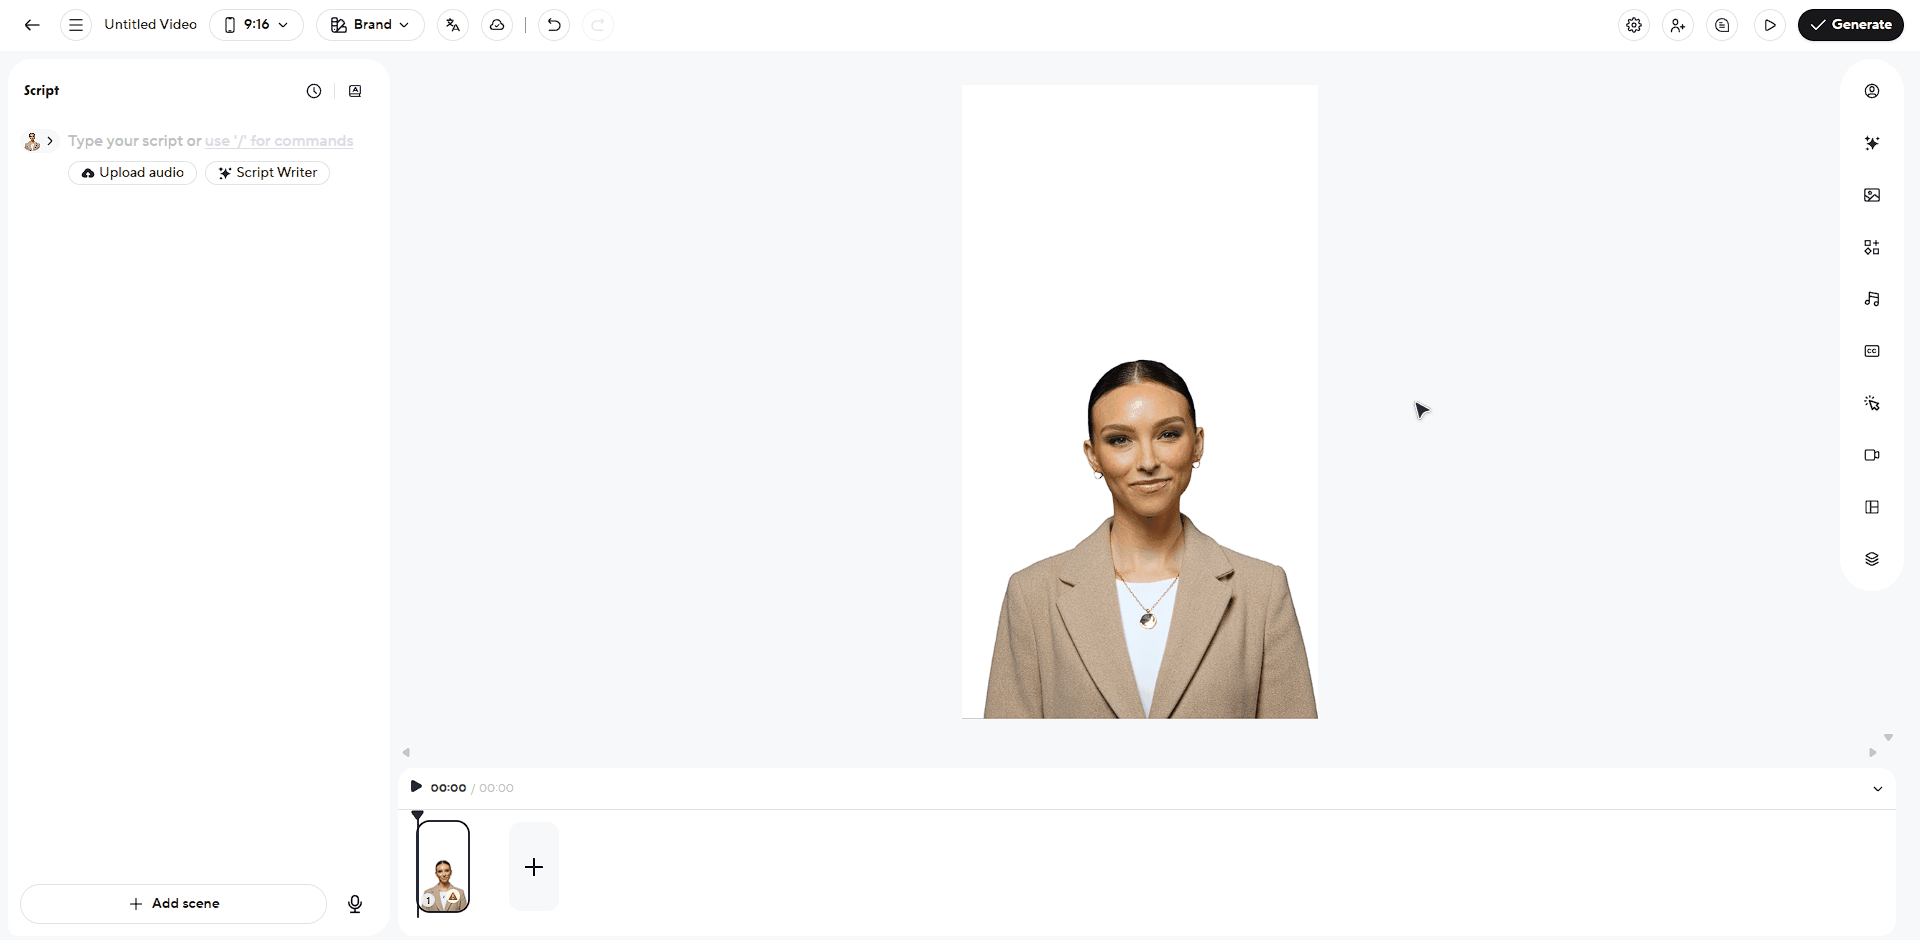
You will then be taken into the HeyGen video editor. Once inside the editor, select 'Scene' in the right-hand panel. From there, click 'Avatar,' followed by 'Replace Avatar.'
This will open the Public Avatar library, where you can browse and select the public avatar of your choice to apply to your video.
Selecting an Avatar and voice selection
To find the right avatar for your video, browse the Public Avatar library and use the filters at the top of the page to narrow down your options and get your desired look.
You can filter avatars by style, appearance, and other attributes to quickly locate one that fits your project.
Now, you can select the Public Avatar of your choice and apply it to your new video.
Make your selection and give the assigned voice a try. If you’d like to use another voice, you can easily select another by clicking one of the script sections within the video timeline and then clicking on the voice name above the script text box.
Make your selection and give the assigned voice a try. If you’d like to use another voice, select 'Scene' in the top-right corner of the editor and choose the 'Voice' option to open the voice selection menu.
From there, you can choose from a wide selection of voices, accents, and languages.

Adding your script
Next, it’s time to add your script that will be read by your public avatar.
In HeyGen, you have multiple ways to add your script. You can directly type or paste your text into each script box, upload audio, record a voiceover yourself, or select 'Script Writer' to let AI generate the script for you.
If you already have a written script, you can also choose a delivery style using direct voice, or mirror voice . The 'direct voice' option allows you to type your intended emotion or tone or select a template. The 'mirror voice' option allows you to record your own voice, and the AI-generated voice will match your delivery style.

Remember, the better your script and delivery settings, the more engaging your video will be. Feel free to add pauses or inflection cues to keep things natural.
Preview and final adjustments
Before finalizing, click the 'Preview' button located in the top-right corner of the editor, to the left of the 'Generate'” button, to watch your avatar in action.
Please note that if you haven't rendered your script, your avatar might not move or might have blurry lips during the preview. The lip synchronization will show after the video is generated.
If everything looks good, you're almost done. If not, you can tweak the script, change the voice settings, or adjust the background until you’re satisfied with the results.
Exporting your video
Once you’re happy with your video, simply click 'Generate.'
From there, you can edit your video settings, including the video name, resolution, frames per second (FPS), and file type before submitting your video for processing.
Did you know learners retain up to 80% more information from videos compared to text? Dive into HeyGen Academy: 101 , our self-paced course that covers all the HeyGen essentials.
Recap
In this guide, you learned:
- What Public Avatars are
- How to access public avatars
- How to select and customize avatars
- How to add a script
- How to preview and adjust scripts
- How to export your video
We’re looking forward to seeing what you’ll create with HeyGen!
If you’re posting your videos on social media, make sure to tag any videos you create with @HeyGen_Official so we can celebrate them with you.
Comments (0)
Popular

Dive in