Swapping your face onto an existing avatar and making it your own is now as easy as uploading a photo.
HeyGen’s Faceswap lets you instantly personalize any avatar, no design tools, no editing skills, no studio required. Just choose an avatar, upload your photo, and generate a lifelike new version in seconds.
Whether you’re customizing your presence for professional videos, experimenting with new looks, or creating avatars for fun, Faceswap gives you a fast and effortless way to make avatars truly yours.
What’s covered in this guide:
- What makes Faceswap different
- How to create a new avatar with Faceswap
What is Faceswap?
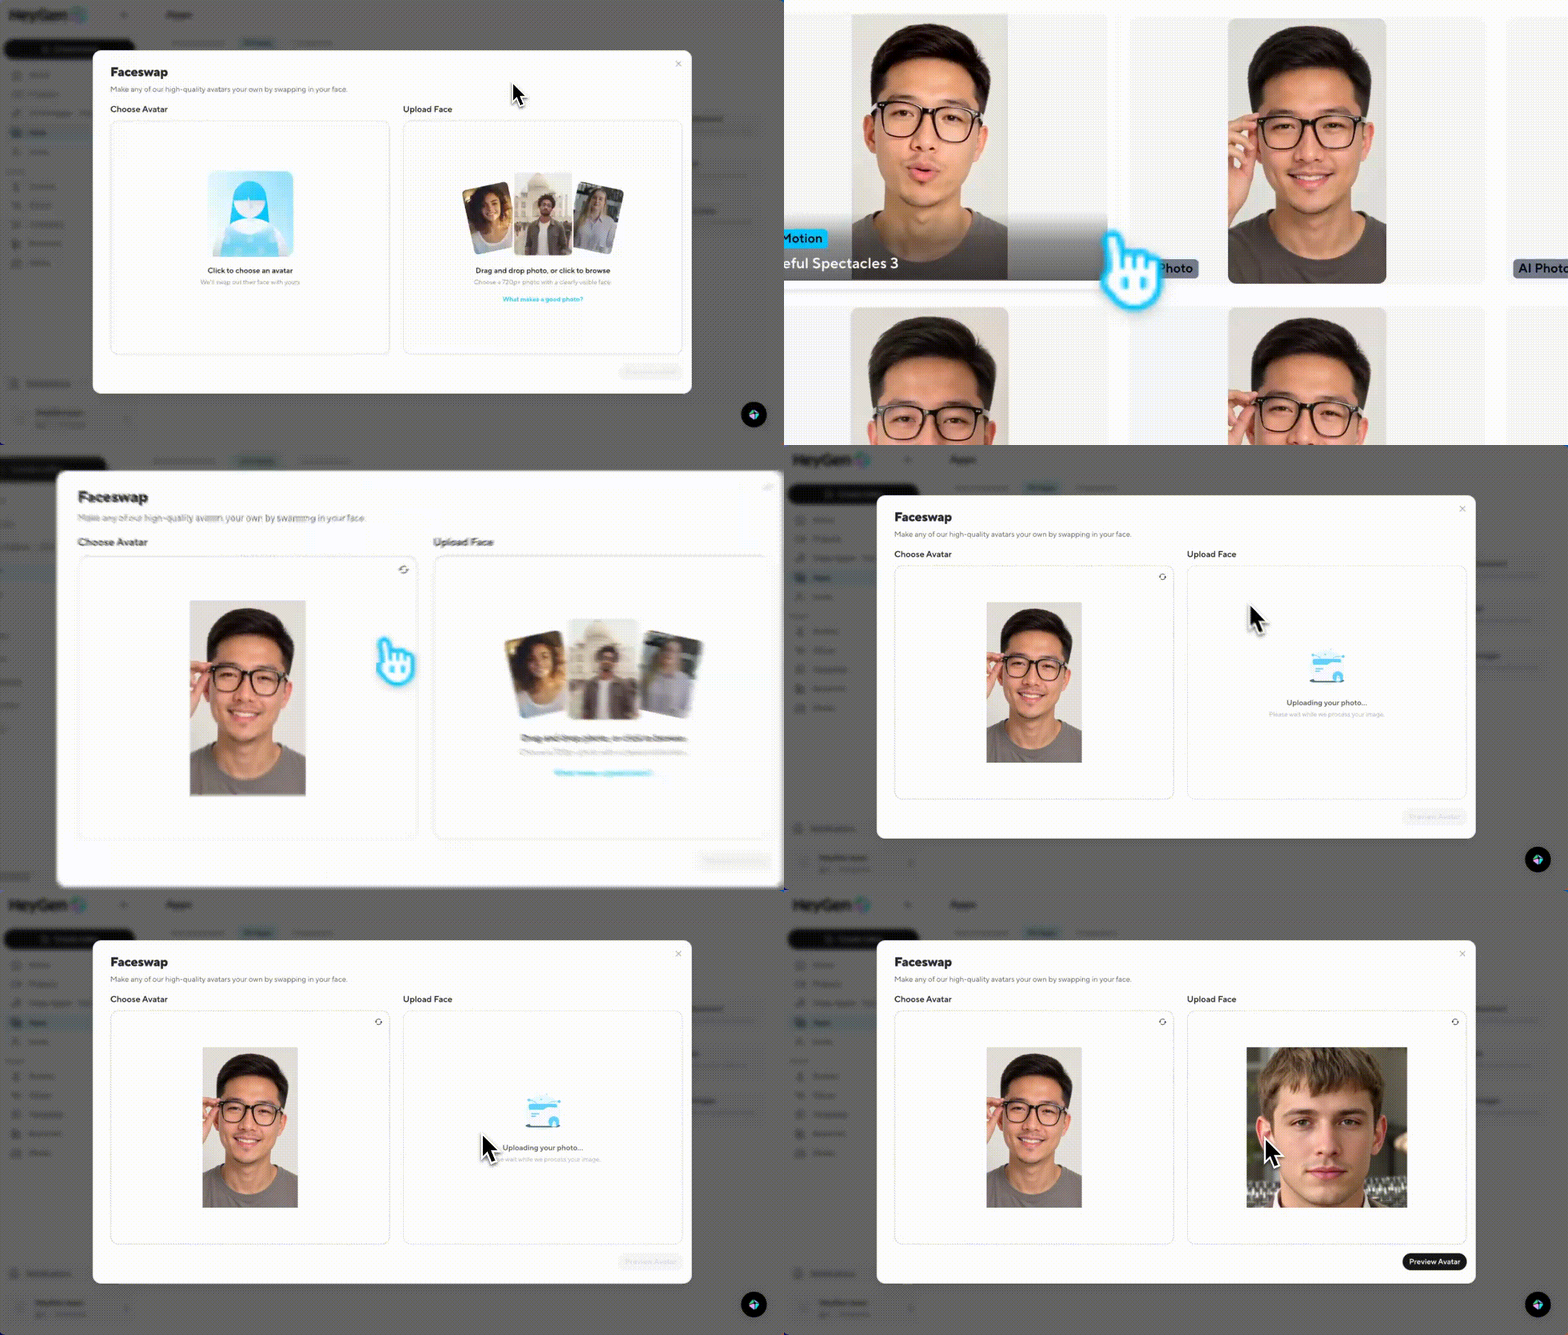
Faceswap is HeyGen’s simple workflow for customizing avatars. Instead of starting from scratch, you can take an existing avatar and swap in a new face. The process is automatic: you choose your base avatar, upload a photo, and in seconds a new version is generated and saved into your My Avatars collection. From there, it’s ready to use in any project, just like your other avatars.
Why it’s different
Unlike traditional tools that ask you to build or edit features one by one, Faceswap handles everything in the background. You don’t have to be a designer or a video editor, it’s as easy as selecting, uploading, and generating. Every result is stored directly in your personal avatar library, so you can reuse and experiment without redoing the process. The entire flow is built for speed, simplicity, and accessibility.
How to create your avatar with Faceswap
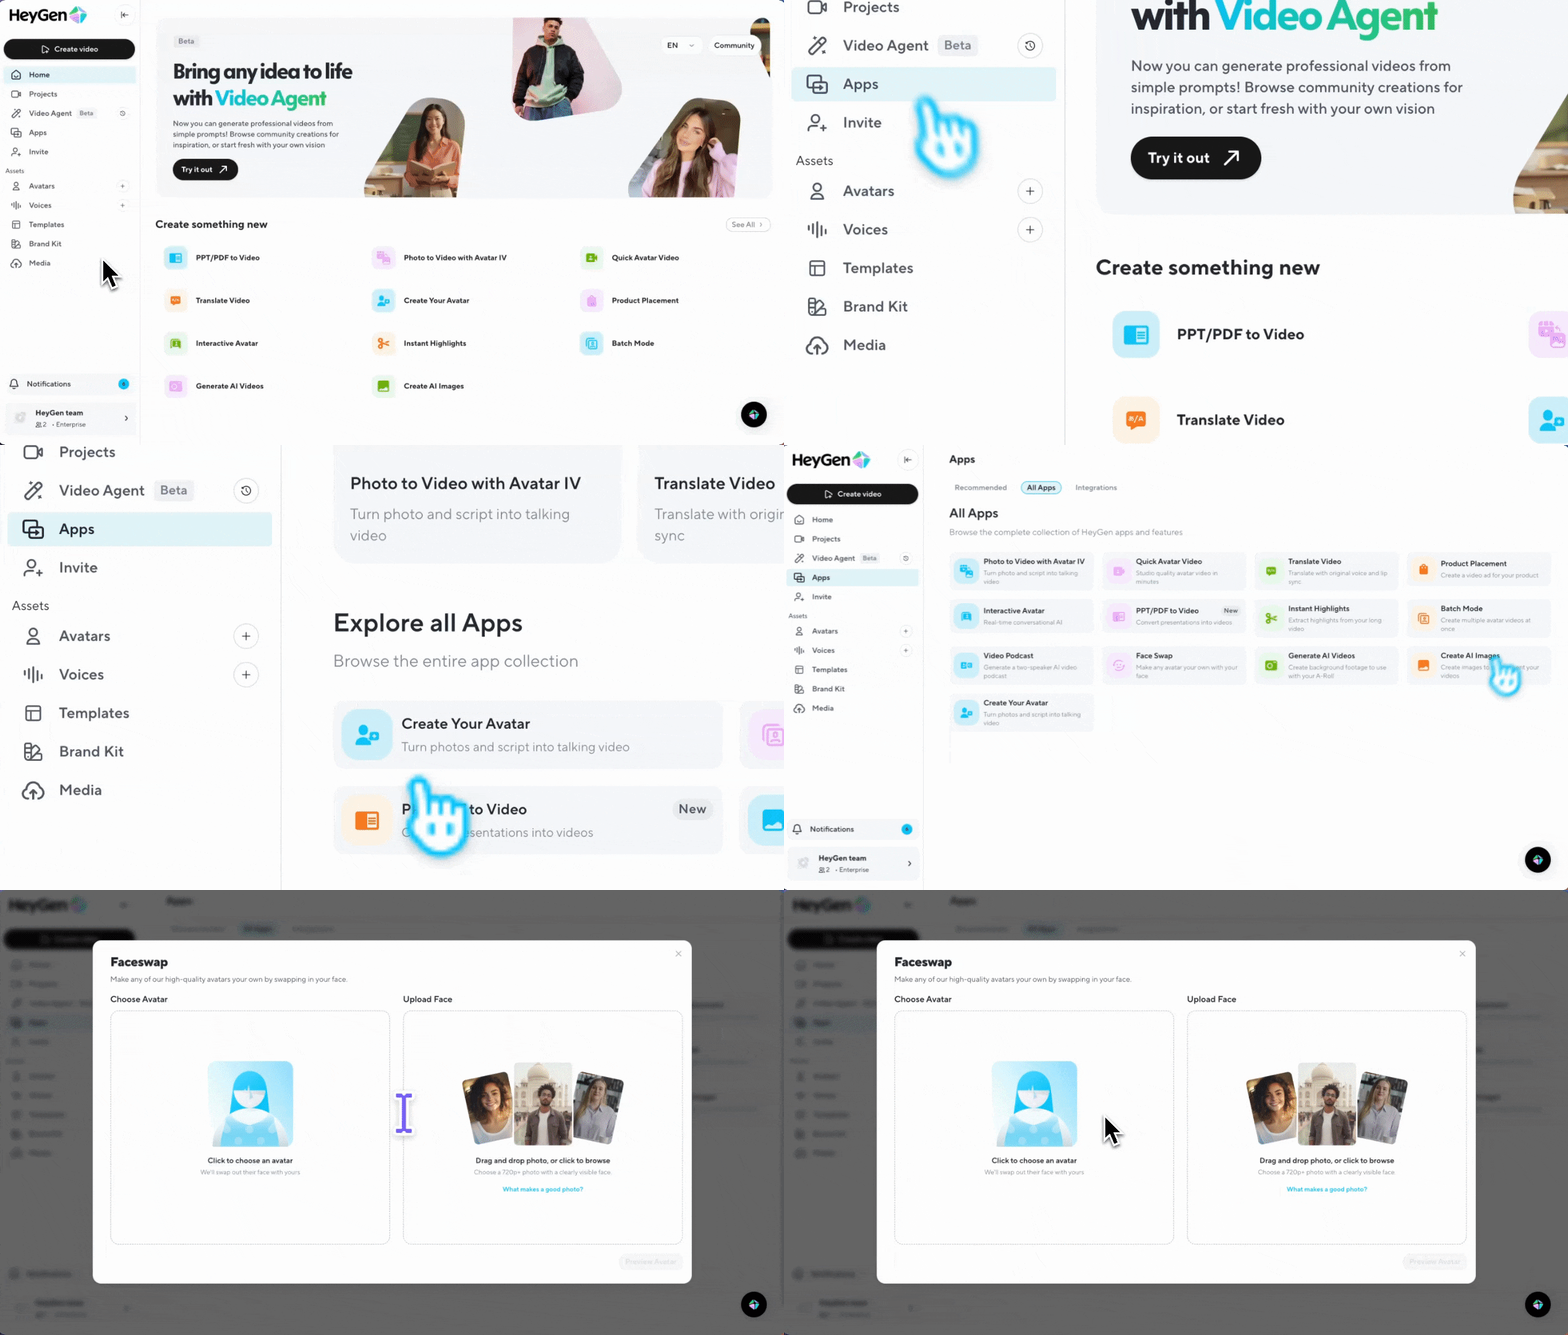
To get started, go to apps and open Faceswap.
Choose the avatar you want to update, then upload a clear, front-facing photo of the new face you’d like applied.
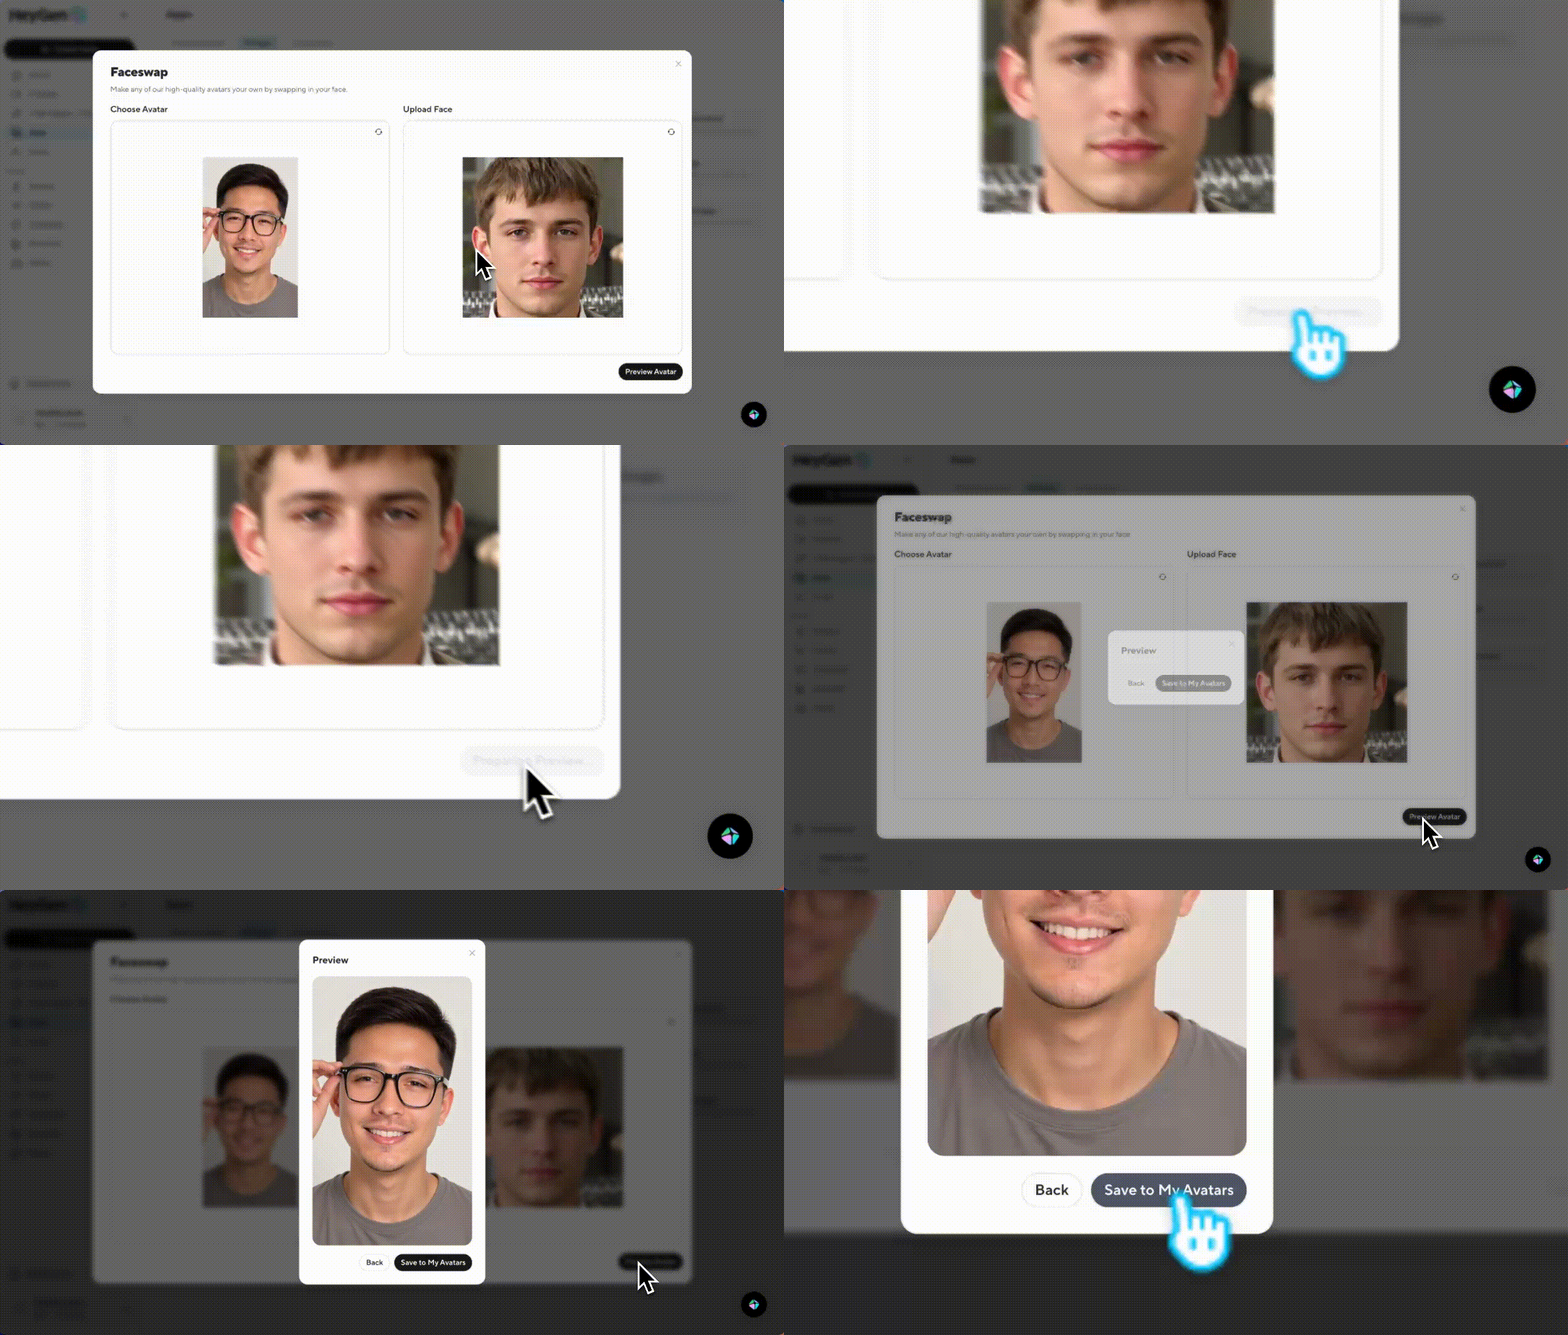
When you click Generate, you’ll see a preview of the transformation. If you like the result, save it as a new avatar and it will appear in your My Avatars section, ready for immediate use in videos or future edits.
Managing your avatars
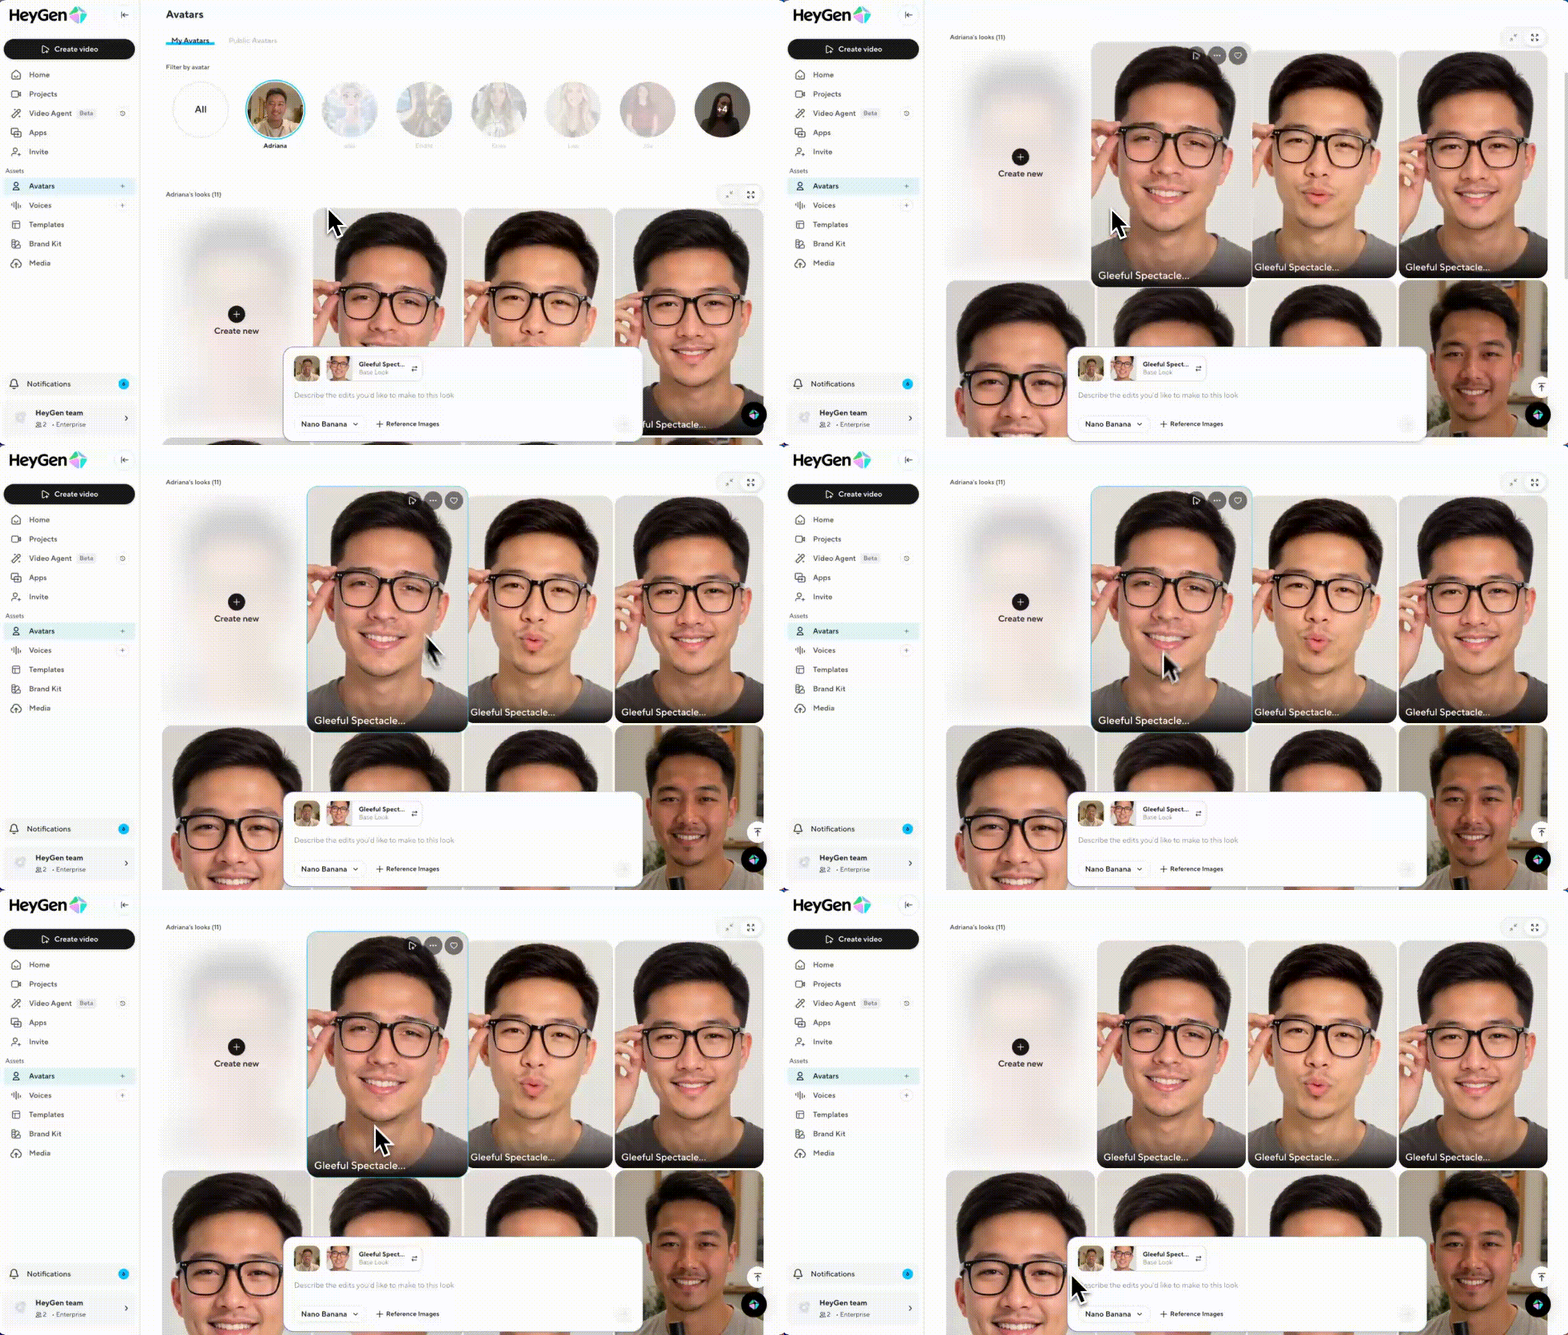
Once saved, your new avatars live alongside your existing collection. You can switch between them inside projects, build variations for different styles or tones, and revisit them anytime without repeating the swap.
The workflow is designed to keep all your creations organized and instantly accessible.
Tips for best results
Use a clear, front-facing photo for accurate mapping
Good lighting matters, avoid shadows, hats, or obstructions
Experiment with multiple photos if the first swap isn’t ideal
Match the mood, pick a facial expression that fits the style of the avatar you’re creating
Recap
In this tutorial, you learned:
- How to create a new avatar with Faceswap
- How to manage your avatars
- Tips for achieving the best results
Faceswap makes it effortless to transform any avatar into something personal, unique, and ready to use. We can’t wait to see the avatars you’ll create!


